7 Stunning Cricut Decor Ideas to Transform Your Home
If you’re looking to add a personal touch to your home, using a Cricut can open up a world of possibilities. From sleek wall art to custom wooden signs, these seven decor ideas can help you create eye-catching elements that reflect your style. Seasonal door hangers and unique pillow covers can seamlessly change the vibe of any room, while decorative table centerpieces raise your dining experience. You might be wondering what else you can create to improve your space—let’s investigate these inspiring projects that can transform your home into a showcase of creativity.
Wall Art Creations

Creating stunning wall art can transform any space in your home, making it feel more personalized and inviting. One effective method is using a Cricut machine.
Start by selecting your favorite designs or quotes. You can find numerous templates online, or create your own using Cricut’s Design Space. Choose the material; vinyl works well for a clean look, while cardstock adds texture.
After cutting out your design, carefully weed away excess material. Then, apply transfer tape to move your design onto your chosen surface. Make sure the surface is clean and flat. Press down firmly to adhere it properly.
Finally, peel off the transfer tape, and your beautiful wall art is ready! Enjoy the unique touch it brings to your home.
Custom Wooden Signs
Custom wooden signs add a rustic charm to your home, complementing the wall art you’ve crafted with your Cricut. You can easily create personalized signs using high-quality wood and vinyl.
First, choose the right wood. Pine or plywood works well for a clean look. Next, design your sign on the Cricut software. Consider using bold fonts and simple graphics for clarity.
Once your design is ready, cut it using your Cricut machine. After that, weed out the excess vinyl carefully. Apply transfer tape and position the vinyl onto the wood surface. Use a scraper to make sure it’s stuck well.
Finally, seal your sign with a clear varnish to protect it from wear. Enjoy displaying your custom creation in any room!
Seasonal Door Hangers
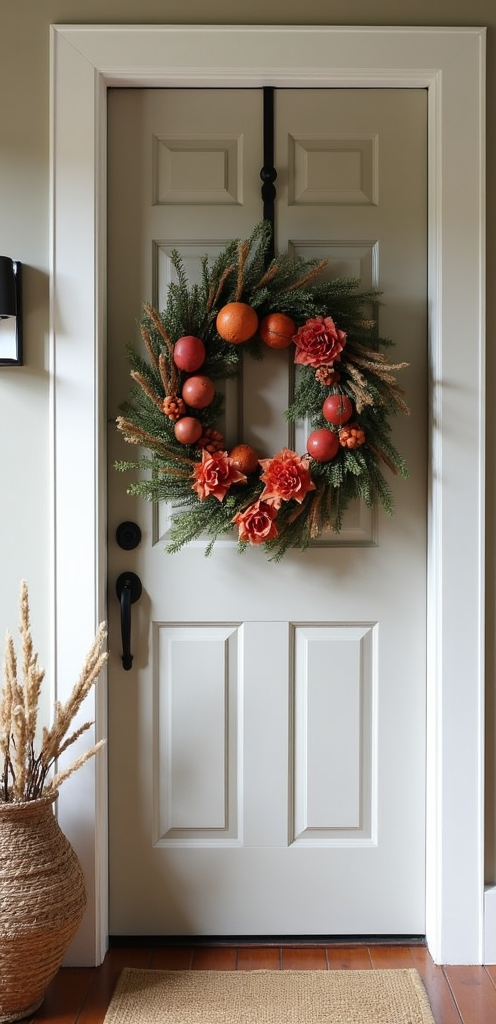
Seasonal door hangers are a fantastic way to welcome guests while adding a festive flair to your home. You can easily create them using your Cricut machine.
Start by selecting a seasonal theme, like fall leaves or winter snowflakes. Choose the right materials, such as wood, MDF, or vinyl.
Next, design your hanger in the Cricut Design Space, ensuring your dimensions fit your door. Then, cut your design and assemble the pieces.
Consider adding popular phrases like “Happy Holidays” or “Welcome Summer.” Once complete, hang your door hanger with a sturdy ribbon or twine.
Switching these out seasonally keeps your decor fresh and inviting, letting your personality shine through each time the seasons change.
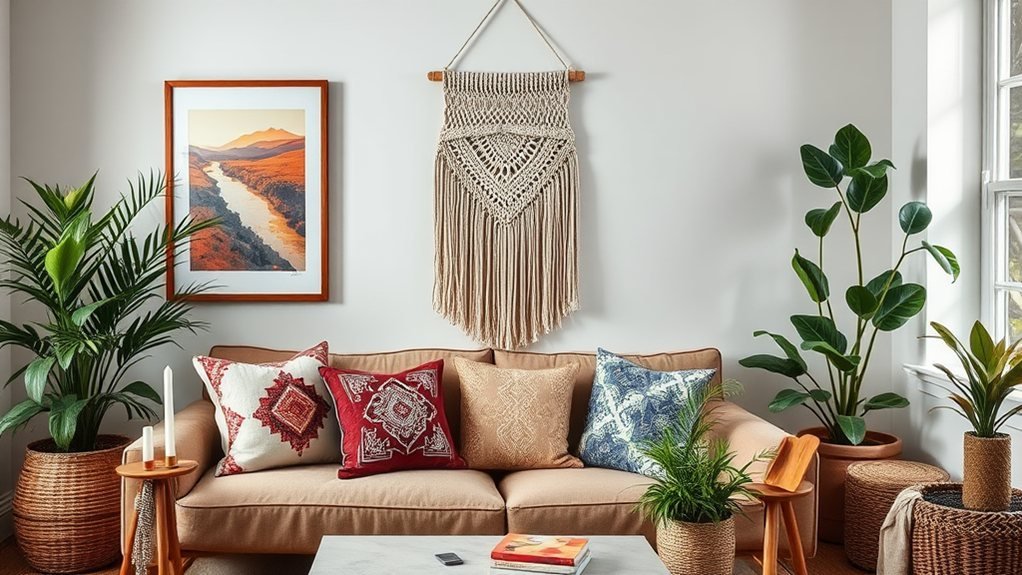
Personalized Pillow Covers
Adding personalized touches to your home decor can be as simple as designing unique pillow covers using your Cricut machine.
Start by choosing a fabric that’s durable and matches your style. Measure your existing pillows to guarantee the covers fit perfectly.
Use the Cricut Design Space to create customized designs, whether you want to add your name, a fun quote, or a seasonal graphic. After cutting your design from heat transfer vinyl, carefully weed out the excess vinyl.
Use a heat press or iron to transfer the design onto the fabric. Finally, sew the fabric into a cover, or use fabric glue for a no-sew option.
Enjoy the fresh look your personalized pillow covers bring to your home!
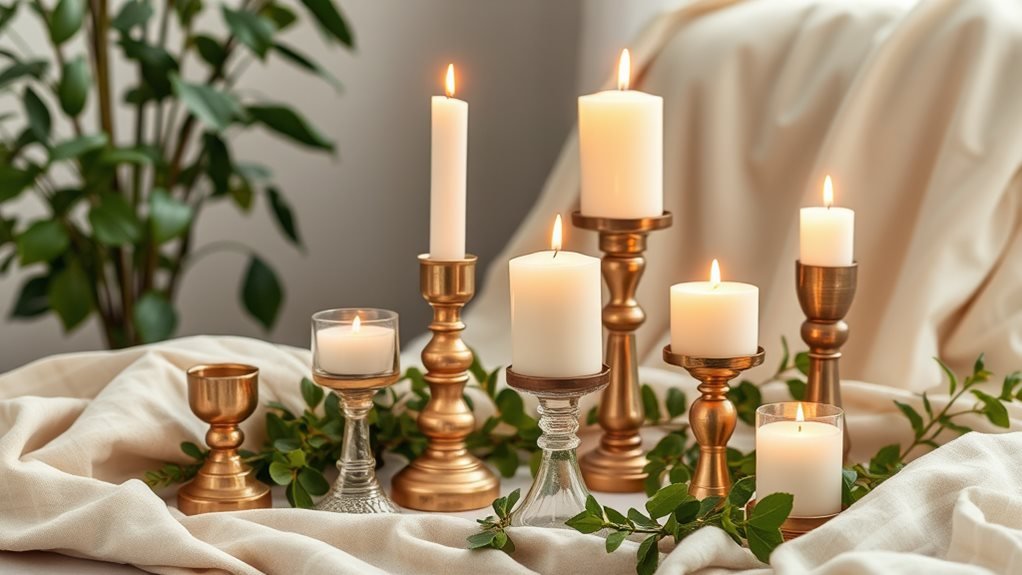
Decorative Table Centerpieces
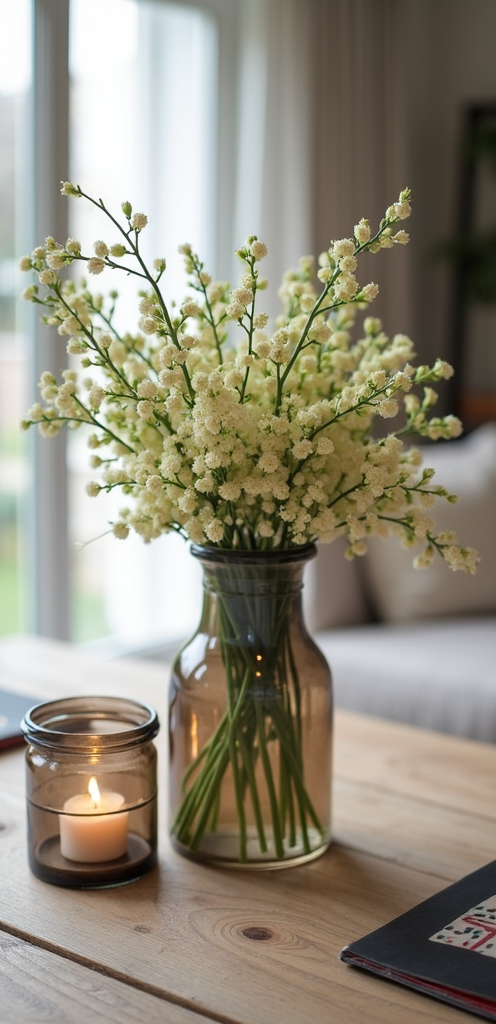
A well-designed table centerpiece can transform an ordinary dining experience into something extraordinary. To create stunning centerpieces using your Cricut, start by selecting a theme that matches your décor. You can choose seasonal elements, like fall leaves or summer florals.
First, gather your materials: cardstock, a cutting mat, and your Cricut machine. Design your pieces with the Cricut software, using templates or creating your own. Cut out shapes such as flowers, geometric designs, or personalized name tags.
Layer these cutouts on a base, like a tray or tablecloth. Finally, add candles or small plants to enhance the look. By keeping colors and styles consistent, you’ll guarantee your centerpiece ties the whole table together beautifully.
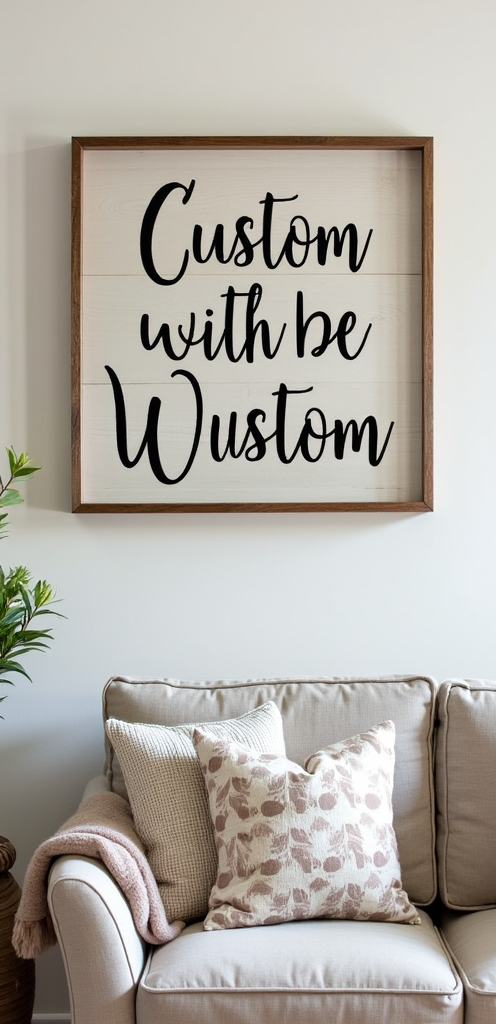
Fun Wall Quotes
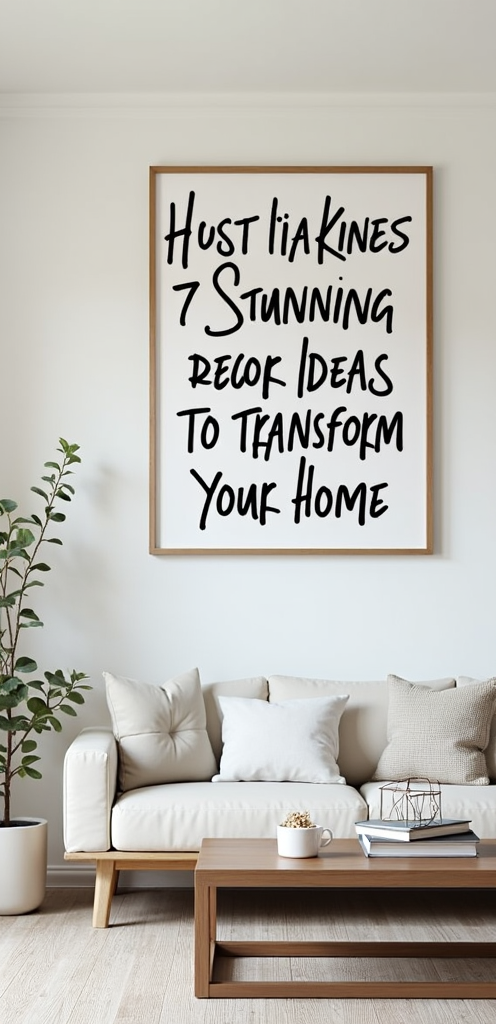
Your walls are a blank canvas just waiting for some personality, and fun wall quotes can be the perfect way to express your style. Start by choosing quotes that resonate with you. Look for inspiration online or in your favorite books.
Next, use your Cricut machine to cut the quotes from vinyl or cardstock. Make certain you measure the wall space first so your quotes fit perfectly.
Once your quote is ready, clean the wall surface where you’ll apply it. Peel off the backing and carefully position the quote, using a level to keep it straight. Smooth it onto the wall, making sure there are no bubbles.
With just a few steps, you’ll create an inviting atmosphere that showcases your personality!
DIY Photo Frames

Transforming your favorite memories into beautiful displays is easy with DIY photo frames.
Start by selecting a design on your Cricut machine. You can choose from various styles, like classic or modern.
Next, gather your materials: sturdy cardstock, adhesive, and decorative elements like vinyl or wood embellishments.
Cut your frame’s design with the Cricut, then carefully assemble it using the adhesive. Make sure your cutouts fit well!
Once the frame is complete, place your photo behind the cutout or insert a mat for added effect.
Finally, hang your frame on the wall or place it on a shelf.
With these simple steps, you’ll create unique, personalized photo frames that showcase your memories beautifully.